Is your sliding glass door sticking, drafty, or refusing to lock? The fastest route to a fix is knowing the exact part to replace.
This guide is a visual dictionary of every standard sliding door component. Use it to identify your part, understand how it works, troubleshoot issues, and move straight to the right repair.
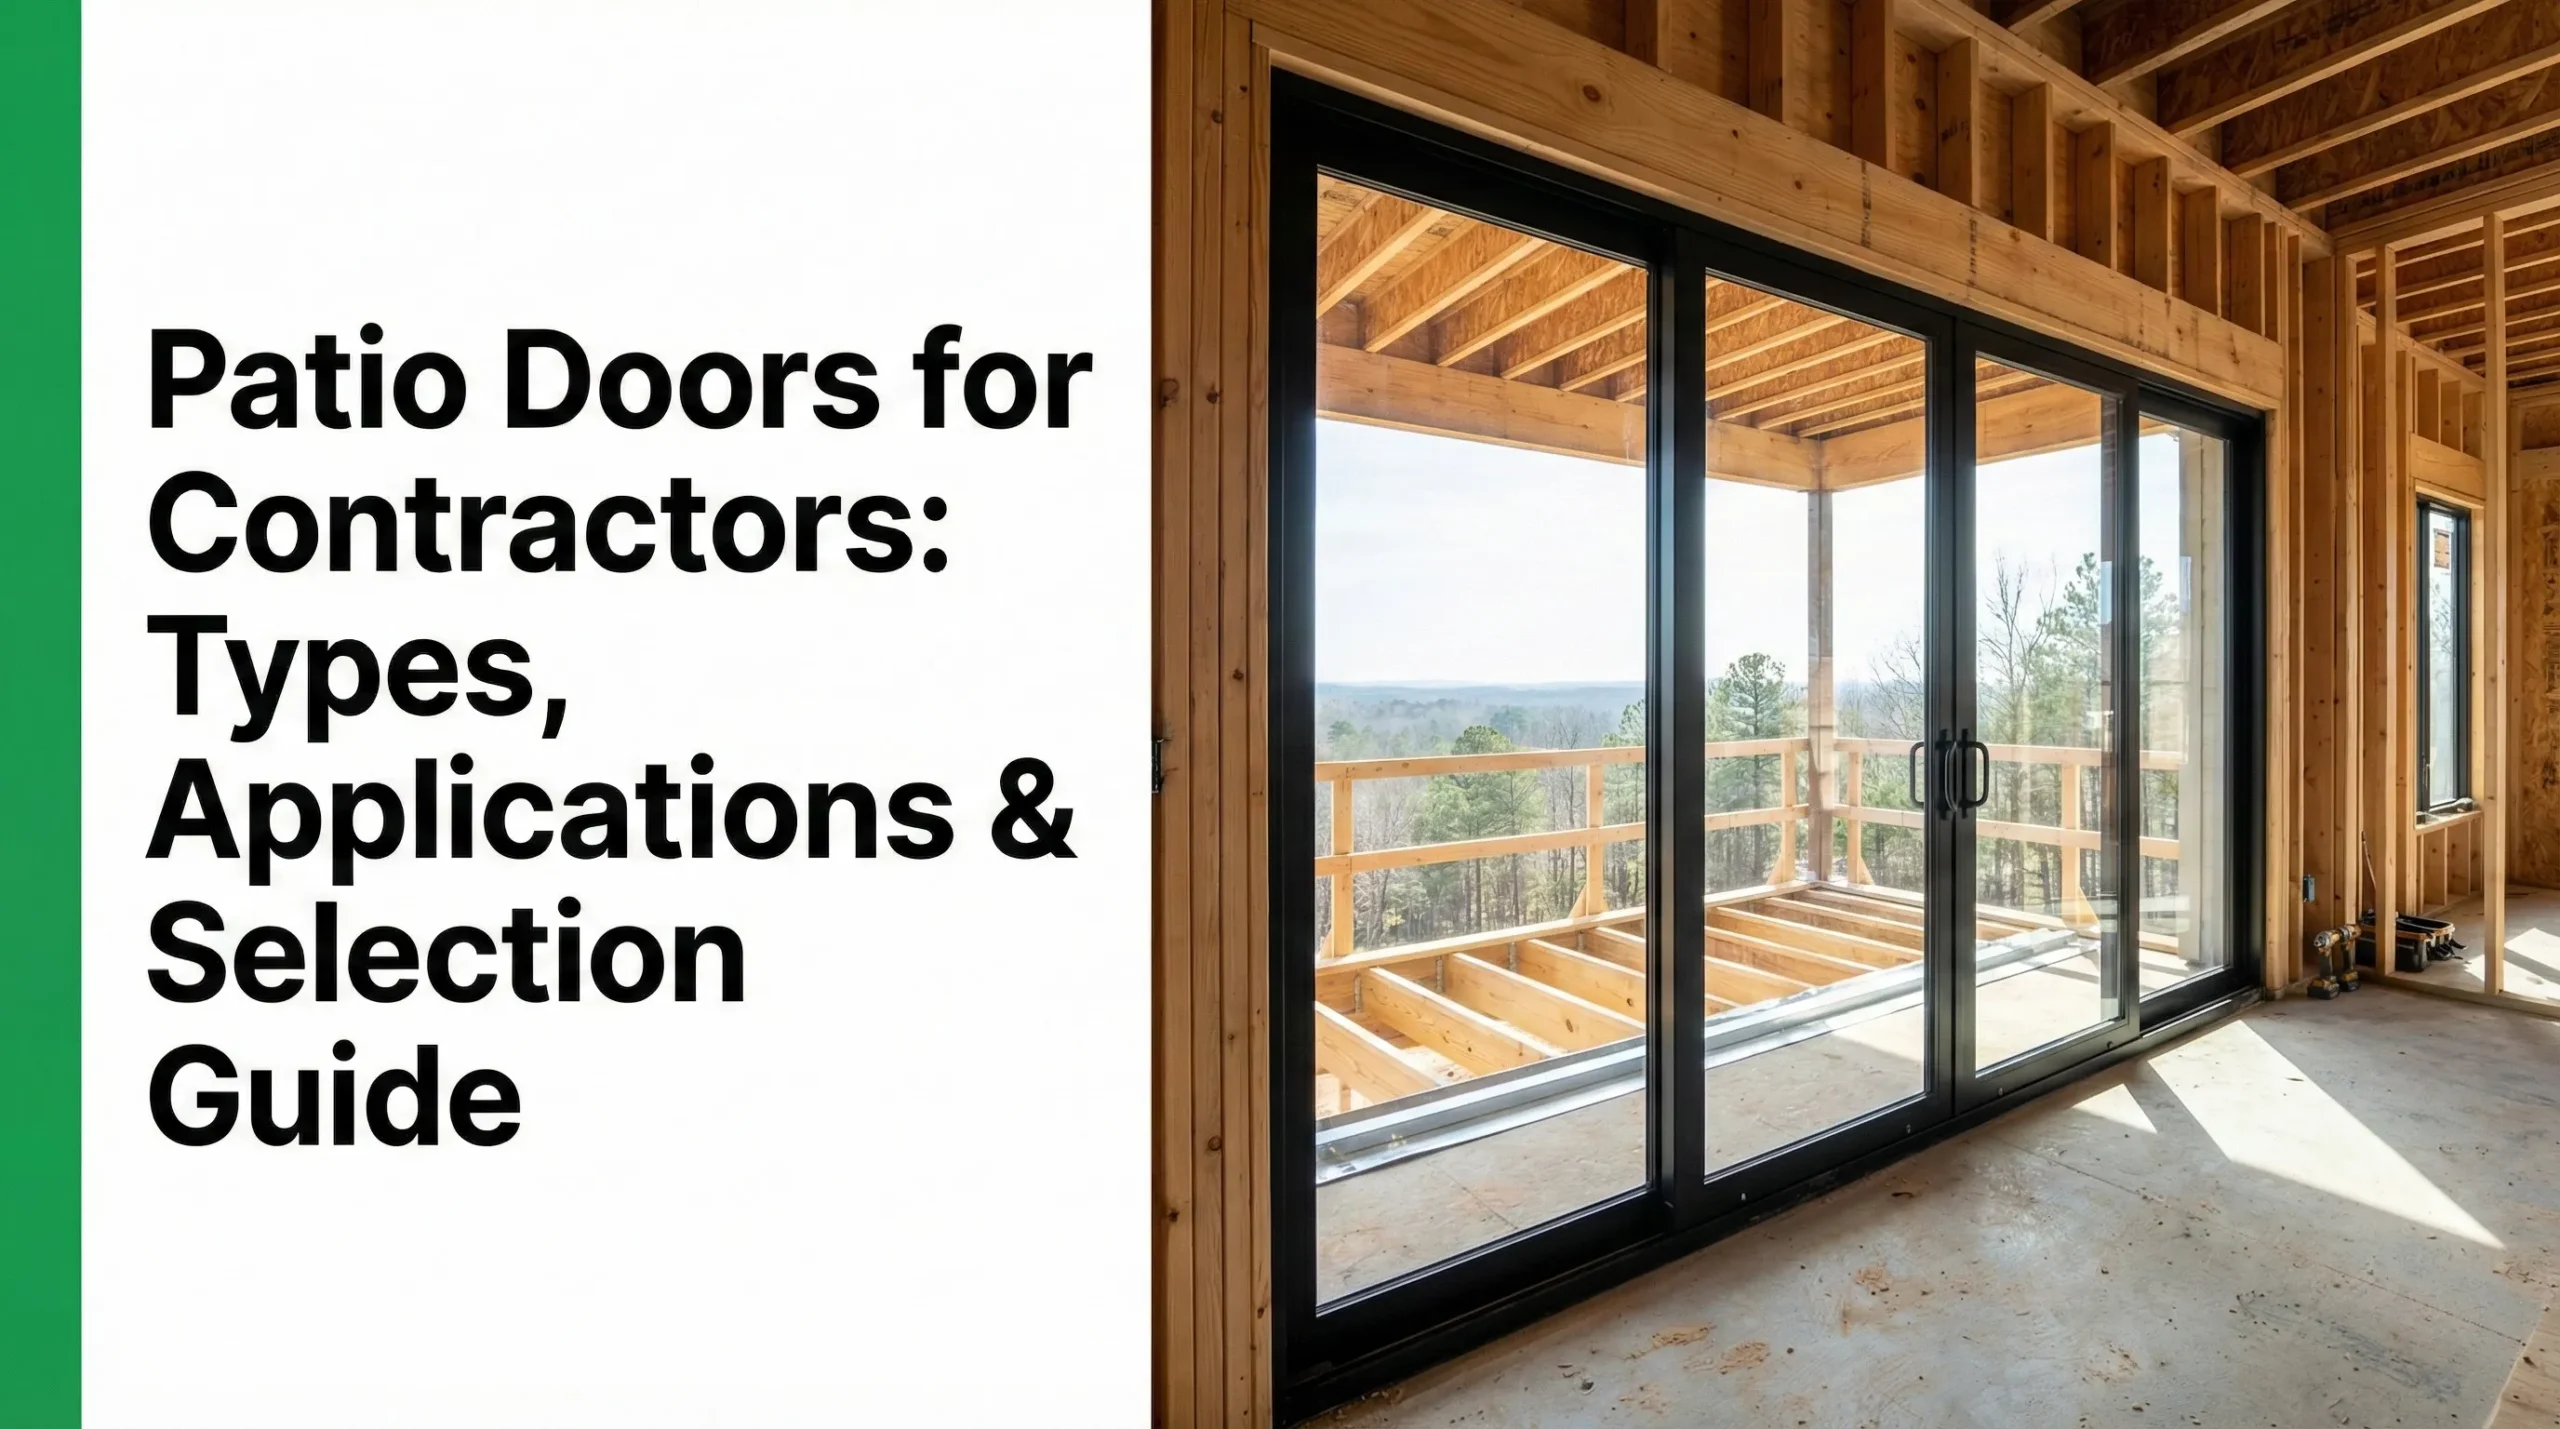
What Are the Parts of a Sliding Glass Door? (Labeled Diagram)
A patio slider consists of an active panel and a stationary panel that meet at an interlock, guided by a top track and rolling on the sill track, with a handle, mortise lock, keeper, and weatherstripping sealing the assembly.

Numbered callouts:
- Active Panel (moving door)
- Stationary Panel (fixed glass)
- Rollers / Roller Assembly
- Sill Track (bottom track)
- Head Guide (top track)
- Handle Set (interior/exterior pulls)
- Mortise Lock (internal lock body)
- Keeper/Strike Plate (receives lock hook)
- Weatherstripping (frame/panel seals)
- Interlock (where the two panels meet)
Sliding Door Parts Glossary: Names, Functions, Variations
To find the right replacement, use the diagram’s numbers to quickly match the name, function, and common variations.
1. Active & Stationary Panels
- Function: The active panel slides to open; the stationary panel is fixed and provides the mating surface for the interlock.
- Variations: Aluminum, vinyl, or wood-clad frames; different glass builds (tempered, laminated, low‑E).
- Replacement tips: Verify overall panel width/height, frame material, and interlock profile before ordering parts.
2. Door Rollers (Roller Assembly)

- Function: Wheel assemblies mounted at the bottom of the active panel that roll along the sill track and adjust panel height.
- Variations:
- Wheel material: steel (durable) vs nylon (quieter, corrosion-resistant).
- Configuration: single vs tandem (two-wheel) for heavier panels.
- Adjustment: top-access or bottom-access screws.
- Replacement tip: Measure wheel diameter (e.g., 1″, 1‑1/4″, 1‑1/2″), housing style, and mounting hole pattern. Photograph the old unit.
3. Sill Track & Head Guide

- Function: The bottom rail (sill track) supports and guides the rollers; the top channel (head guide) keeps the panel aligned and prevents tip-out.
- Variations: Anodized aluminum tracks, stainless steel track caps, snap‑in vinyl guides.
- Maintenance tip: Clean debris and sand; consider a stainless “track cover” if the rail is grooved or flat-spotted.
4. Handle Set
- Function: Interior and exterior pulls are used to operate the door; they often include a thumb turn for the lock.
- Variations:
- Screw-hole spacing (center-to-center) and backset depth.
- Surface vs through-bolt mounting.
- Choose between an interior thumb-turn with an exterior key cylinder or a non-keyed option.
- Fit tip: Record screw spacing with calipers/tape and note inside/outside handle thickness to avoid interference.
5. Mortise Lock (Internal Lock Body)
- Function: The internal mechanism inside the active panel stile; a hook or latch extends into the keeper to secure the door.
- Variations: Hook style/throw length, faceplate shape (rectangular/radius), offset/backset, single- vs multi-point.
- Alignment tip: If the hook doesn’t enter the keeper smoothly, adjust rollers to raise/lower the panel, then re‑align the keeper.
6. Keeper / Strike Plate
- Function: The plate or pocket on the jamb that receives the mortise lock’s hook/latch.
- Variations: Surface‑mount vs recessed, adjustable vs fixed, stainless vs zinc‑plated.
- Fix tip: Loosen screws and shift the keeper slightly to resolve a “won’t lock” complaint after leveling the panel.
7. Weatherstripping

- Function: Seals air/water at the panel perimeter, interlock, and frame-to-sash interfaces.
- Variations:
- Pile weatherstrip (wool pile) with/without center fin.
- Bulb, foam, or compression seals in kerfs.
- Adhesive vs kerf‑in profiles, various heights.
- Upgrade tip: Choose pile height that lightly compresses; too tall increases drag, too short leaks.
8. Interlock

- Function: Mating profiles where the active and stationary panels meet; reducing air/water infiltration; and adding structural rigidity when closed.
- Variations: Snap‑on covers, brush seals in the interlock, and different tongue‑and‑groove geometries.
- Draft tip: If you see daylight here, replace the interlock brush or adjust panel alignment.
9. Anti‑Lift Blocks / Stops
- Function: Small blocks at the head to prevent lifting the panel off the track for security/safety.
- Variations: Factory-integrated or retrofit screw‑on blocks; adjustable clearances.
- Safety tip: Maintain a small clearance—enough to remove the panel for service, but not enough for forced removal.
10. Auxiliary Parts (Screen & Threshold Accessories)
- Screen door rollers/track, bug sweep, and latch.
- Threshold caps/drip edges for exterior weathering.
- Note: Screen parts are separate from glass door components but share similar roller/track principles.
Troubleshooting: Symptoms → Parts to Check (Answer-First Matrix)
Most sliding door issues trace back to rollers, tracks, or lock alignment. Use this quick map to target your inspection.
- If the door is difficult to slide, sticks, or grinds:
- Check: Rollers (3), Sill Track (4), Debris/Sand, and Track Dents/Flat Spots.
- Fixes: Clean, vacuum, and degrease; replace worn rollers; add a stainless track cover; readjust roller height evenly.
- If the door won’t lock or the handle feels loose:
- Check the alignment of the handle set (4), Mortise Lock (5), and Keeper (6), as well as the Set screws.
- Fixes: Tighten handle screws, adjust keeper, replace a worn mortise lock, and verify panel height via roller adjustment.
- If you feel a draft or see daylight:
- Check: weatherstripping (7), interlocking (8), and panel squareness.
- Fixes: Replace worn pile/bulb seals; add/replace interlock brush; ensure frame/panel are plumb and rollers level.
- If the panel lifts or rattles in the top track:
- Check: Head Guide (3), Anti‑Lift Blocks (9).
- Fixes: Install/adjust anti‑lift blocks; verify roller height and head clearance.
- If water leaks at the threshold:
- Check: Sill weep holes (clear), threshold cap integrity, and door sweep on screen (if used).
- Fixes: Clear weeps; reseal threshold joints; inspect exterior flashing/drip edge.
Pro maintenance: Use silicone spray on rollers and pile—not oil. Oil attracts grit and accelerates wear.
You’ve Identified the Part—What’s Next?
Measure precisely, match the part based on profile and dimensions, and then follow a step-by-step repair guide.
Step 1: Get Key Measurements
- Rollers: wheel diameter, housing length/height, axle type, and mounting hole position.
- Handle set: screw spacing (center‑to‑center), backset/offset, door thickness, keyed vs. non‑keyed.
- Mortise lock: faceplate size, hook style/throw, backset, and mounting hole spacing.
- Keeper: hole/slot geometry, adjustability, screw spacing.
- Weatherstripping: pile/bulb height and base width, kerf size (if kerf‑in).
- Tracks: rail width/height; assess for caps vs. full replacement.
Step 2: Find a Replacement Part
- Browse by category: rollers, handle sets, mortise locks, keepers/strikes, weatherstripping (pile/bulb), interlock brushes, track covers, anti‑lift blocks.
- Tip: Cross‑reference your measurements and photos with product diagrams. When in doubt, bring the old part to a local hardware store with a door hardware desk.
Step 3: Follow a Step‑By‑Step Repair Guide
- Now that you’ve ID’d rollers, see our tutorial (coming soon).
- For draft fixes, see:
How to Insulate Sliding Glass Doors for Winter. - For hard‑to‑open doors, review:
Why Is My Sliding Door So Hard to Open?.
Safety note: Panels are heavy and glazed with tempered glass. Wear cut‑resistant gloves and eye protection; use suction cups when removing a panel.
Parts Table: Quick Reference
Use this table to match the diagram number to the name, function, and a key replacement tip.
| # | Part | Function | Common Variations | Replacement Tip |
|---|---|---|---|---|
| 1 | Active Panel | Slides to open/close | Frame material; glass build | Confirm height/width; check interlock profile |
| 2 | Stationary Panel | Fixed panel; interlock mate | Clip vs screw retention | Verify stationary stops before removal |
| 3 | Rollers | Carry load; adjust height | Steel vs nylon; single vs tandem | Measure wheel diameter and housing style |
| 4 | Sill Track | Bottom rail for rollers | Aluminum; SS track cap | Add cap if track is grooved/flat-spotted |
| 5 | Head Guide | Top channel alignment | Integrated guide; add-on blocks | Install anti‑lift blocks after service |
| 6 | Handle Set | Operate door; thumb‑turn | Keyed vs non-keyed; C‑C spacing | Record screw spacing; check backset |
| 7 | Mortise Lock | Extends hook/latch | Hook type; faceplate; backset | Level door via rollers before aligning |
| 8 | Keeper/Strike | Receives hook | Surface vs recessed; adjustable | Shift keeper after roller adjustment |
| 9 | Weatherstripping | Air/water sealing | Pile w/ fin; bulb; kerf‑in | Match pile height/base width carefully |
| 10 | Interlock | Panel‑to‑panel seal | Brush in interlock; profiles | Replace worn brush; verify panel plumb |
- Sizes and planning: average door sizes
- Install without major wall work: How to Install a Sliding Door Without Intense Wall Hardware
- Style and cost: French Doors vs Sliding Doors vs Patio Doors: Cost Comparison
- Conversion costs: Cost to Replace Sliding Doors or Windows with French Doors
- Options: 13 Types of Sliding Doors
- Troubleshooting: Why Is Sliding Door So Hard to Open
- Materials: Vinyl vs. Aluminum Sliding Doors
- Comfort: How to Insulate Sliding Glass Doors for Winter
- Screens: Sliding Screen Door Sizes Chart
Conclusion: From Identification to a Smooth‑Sliding Door
Most sliding door problems come down to one worn or misaligned part—rollers, tracks, keeper, or weatherstripping. Now that you can name each component, you’re halfway to a successful DIY repair.
- Need help identifying a part? Ask our experts in the comments below.
- Planning next steps? Explore door styles in our Guide to Interior and Exterior Door Styles (coming soon).