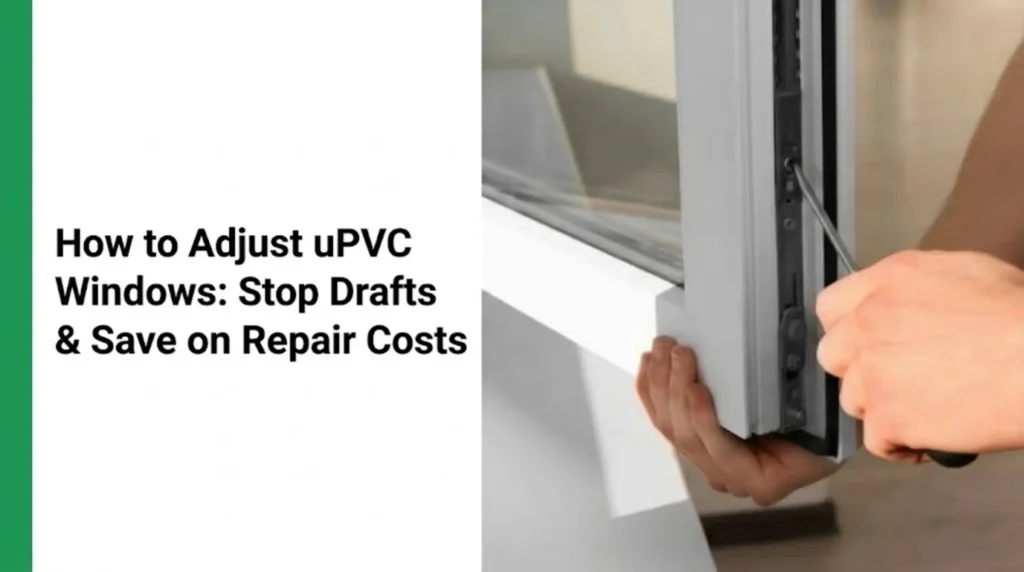
Replacing a vinyl window screen is a simple DIY project you can complete in under 15 minutes.
You’ll boost curb appeal, improve airflow, and keep insects out. This guide shows you how to identify your screen mechanism, remove the old screen safely, decide between rescreening or full replacement, and install the new screen for a snug, rattle-free fit.
Identify your screen type: pull tabs, plunger pins, or leaf/tension springs.
Determine removal direction: some screens come out from the inside, others from the outside.
Install the new screen bottom‑first, then snap the top into place.
Related guides:
- Planning ahead? See How Long Do Vinyl Windows Really Last?
- Upgrading glass? How to Replace Double‑Pane Glass in a Vinyl Window
- Removing the sash first? How to Remove and Replace a Vinyl Window Sash
What Tools and Materials Do You Need?
Basic hand tools and safety gear handle most vinyl window screens; measure only if replacing the frame.
- For Removal & Replacement
- Flathead screwdriver or putty knife (thin, flexible)—
/products/putty-knife - Safety glasses—
/products/safety-glasses - Work gloves—
/products/work-gloves
- Flathead screwdriver or putty knife (thin, flexible)—
- If You Need a New Screen Frame
- Tape measure (reads to 1/16 in) —
/products/tape-measure - New window screen (custom or standard size) —
/products/window-screen-frame
- Tape measure (reads to 1/16 in) —
Tip: Have a soft towel or blanket nearby to protect frames and avoid scuffs.
How Do You Identify Your Screen Release Mechanism?
Vinyl windows typically use one of three retention systems—pull tabs, spring‑loaded plunger pins, or leaf/tension springs. Knowing which you have dictates the removal direction and hand positions.
Pull Tabs: What Are They and How Do They Work?
Small plastic or metal tabs at the screen’s edge; pull them toward the center to release the bottom edge.

Plunger Pins: How Do You Release Them?
Spring‑loaded metal pins on each side. Pull both pins on one side inward to free that edge.

Leaf/Tension Springs: How Do They Hold the Screen?
Flat metal springs along the top or sides create pressure against the channel. Push the screen into the springs to free the opposite edge.

Step-by-Step: How Do You Remove the Old Window Screen?
Determine inside vs. outside removal, open the sash for access, release the mechanism type, then angle the screen out carefully.
- Step 1—How Do You Determine Removal Direction (Inside vs. Outside)?
- Most double‑hung vinyl windows remove to the outside (look for pull tabs on the bottom rail facing indoors).
- Most casement windows remove to the inside (screen sits on the room side).
- Sliding windows vary; check where the tabs/pins face and which channel has clearance.
- Step 2 — How Do You Open the Window Sash for Access?
- Double‑hung: Unlock and raise the bottom sash 3–4 inches.
- Casement: Unlock and crank open several inches.
- Slider: Unlock and slide the active sash fully to one side.
- Step 3 — How Do You Release the Screen?
- For Pull Tabs: Grasp both tabs and pull them inward toward the center to unhook the bottom edge. Then tilt the bottom of the screen outward (double‑hung) or inward (casement) depending on removal direction.
- For Plunger Pins: With one hand, pull both pins on the same side inward simultaneously; with the other hand, gently tilt that side free. Keep the pins retracted until the frame clears.
- For Leaf Springs: Push the screen frame upward (or toward the spring side) to compress the springs, then swing the opposite edge out of the channel.
- Step 4 — How Do You Maneuver the Screen Out Without Bending It?
- Keep the frame square; avoid twisting. Angle the freed edge through the opening first, then rotate the opposite edge out.

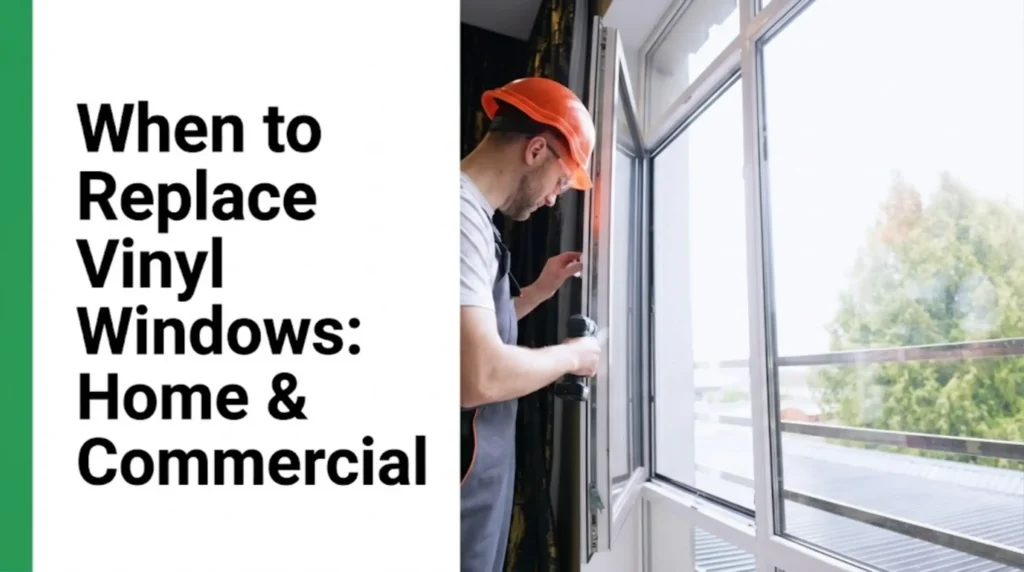
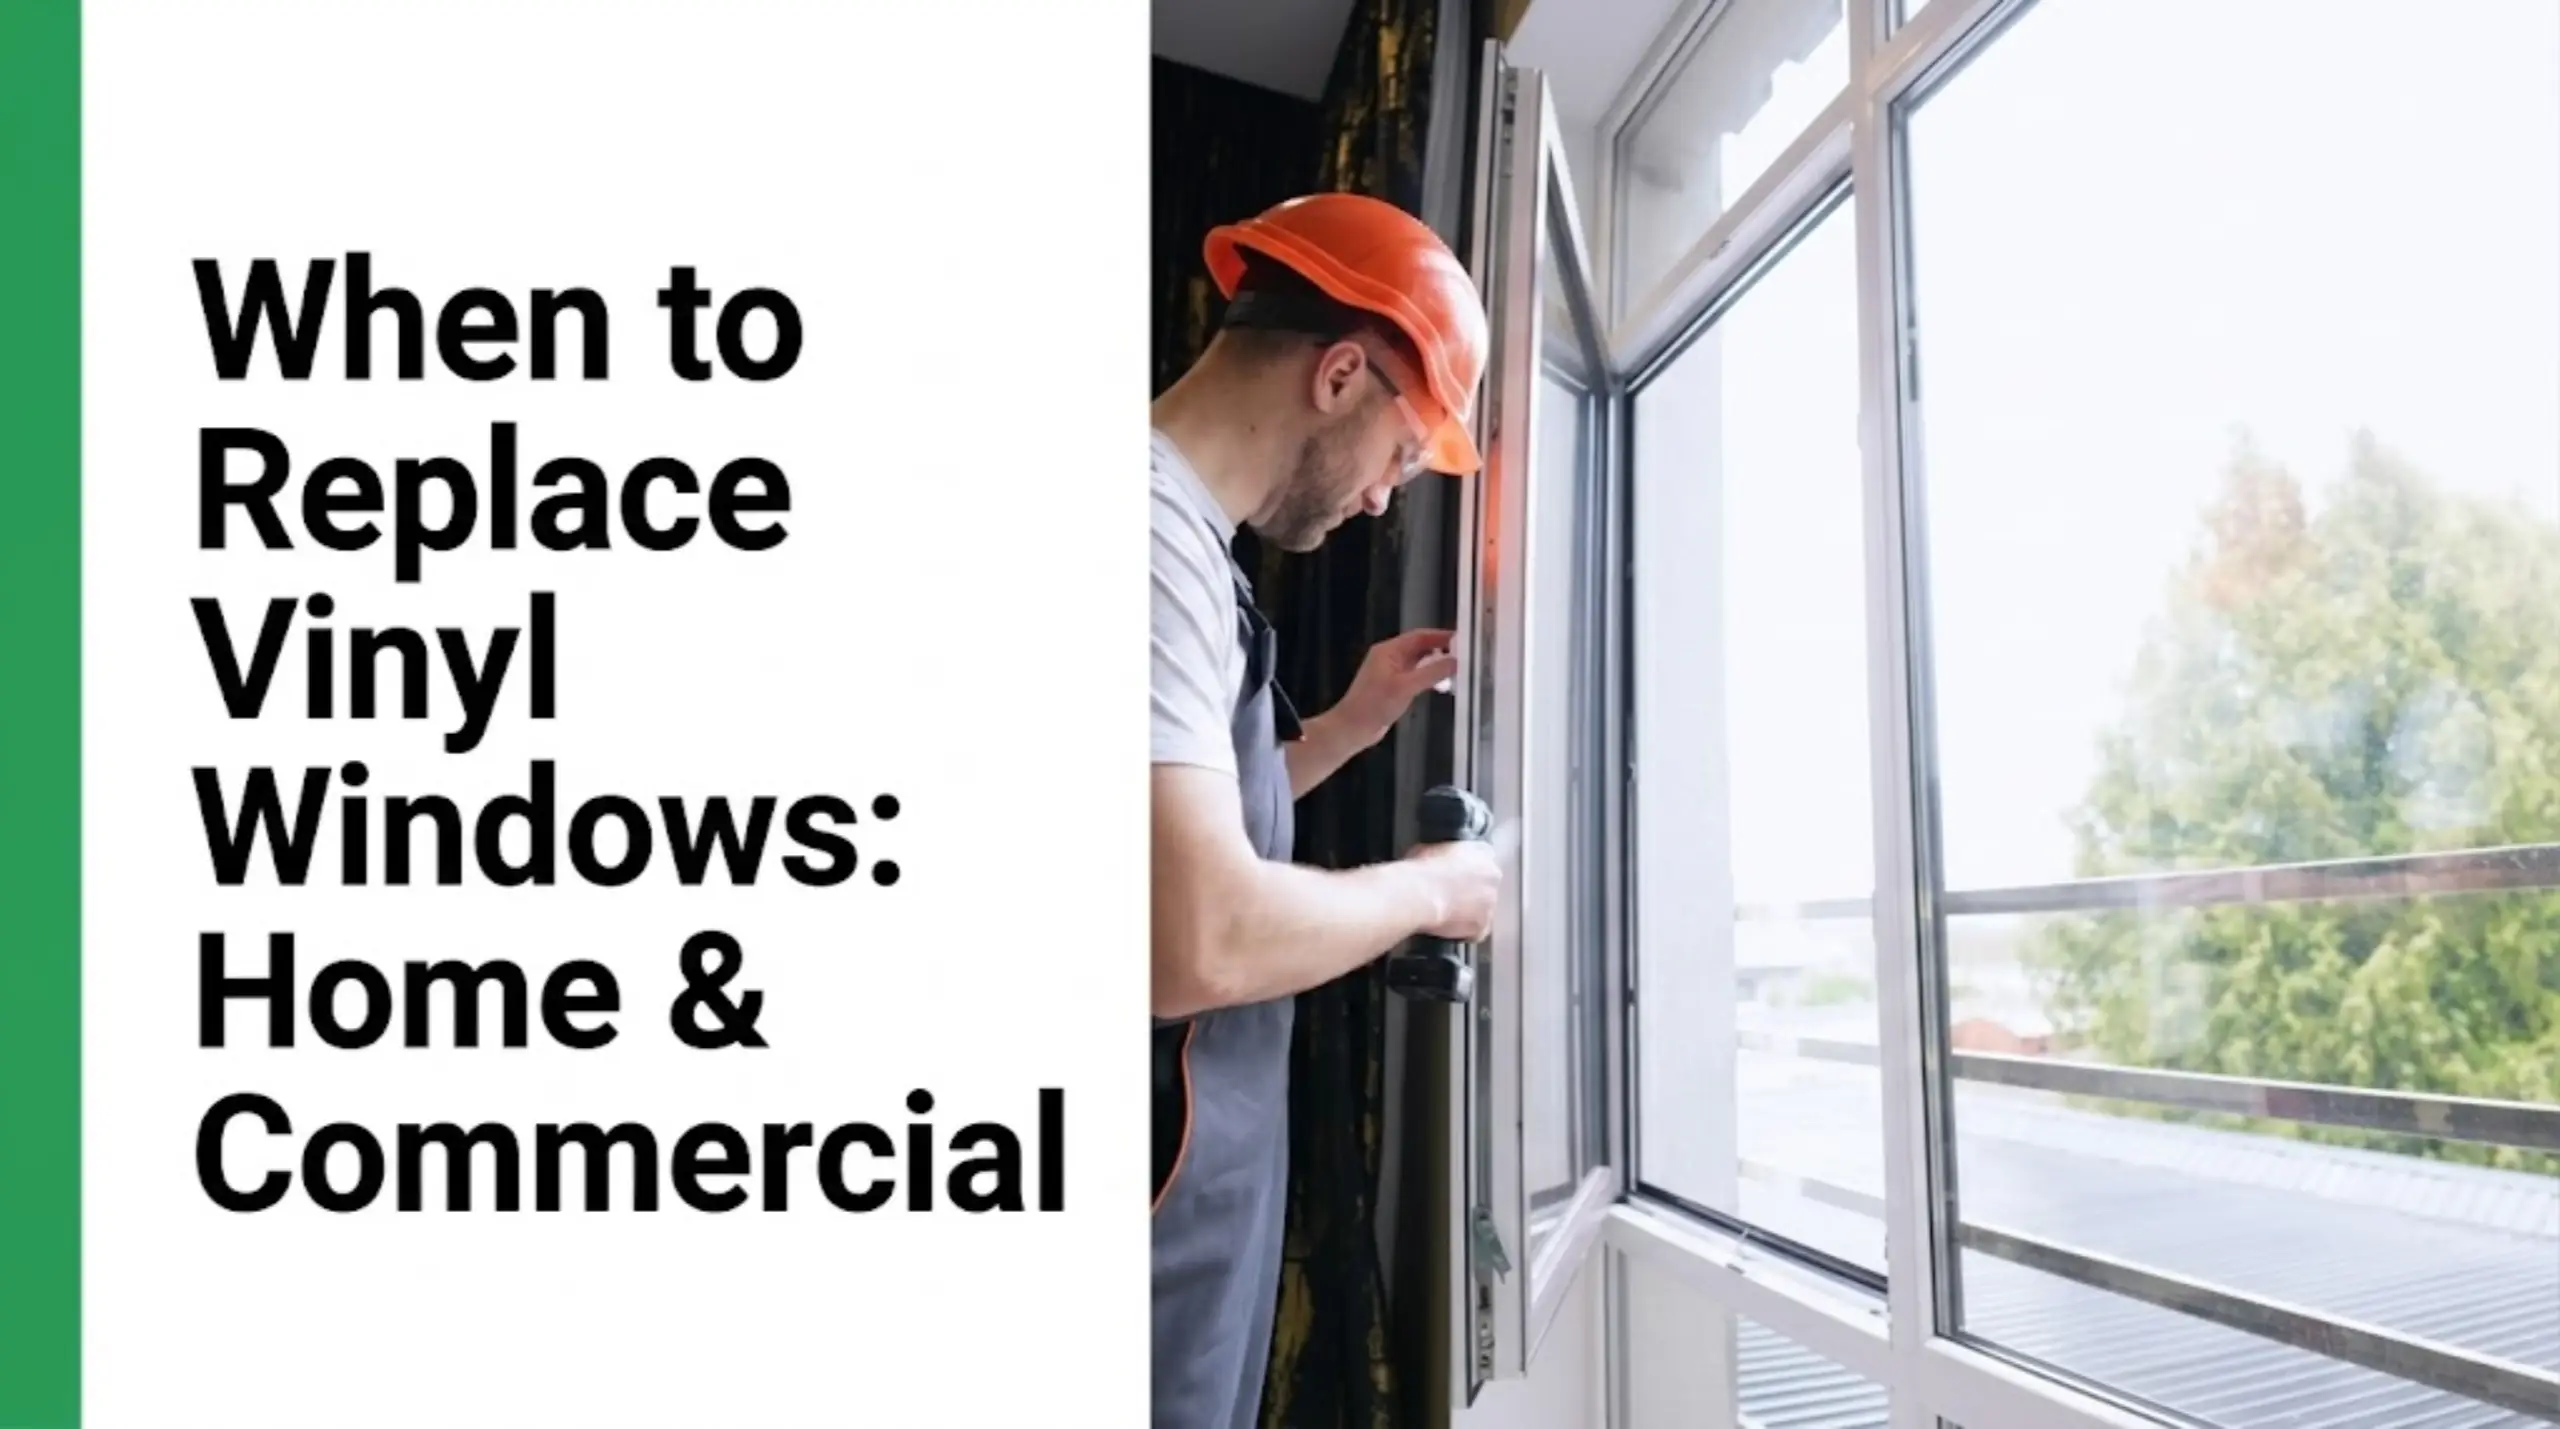
Damaged Frame or Just Torn Mesh—What Should You Do Next?
Replace the entire screen if the frame is bent or cracked; rescreen if the frame is square and intact.
- Scenario 1 — The Frame Is Bent or Broken
- Replace the whole screen assembly. Bent rails won’t seal and can pop free in wind.
How Do You Accurately Measure for a New Screen Frame?
- Measure width at the top, middle, and bottom; record the smallest value.
- Measure height at the left, center, and right; record the smallest value.
- Note hardware: tab locations, plunger pins, or spring side; match frame color and spline size if known.
- Scenario 2 — The Frame Is Fine, but the Screen Is Torn
- Save money by rescreening: remove the spline, lay new mesh, roll spline back in, and trim.

Step-by-Step: How Do You Install the New Window Screen?
Orient the hardware toward the correct side, insert the top to compress springs (if present), then seat the bottom and check for gaps.
- Step 1 — How Do You Position the New Screen?
- Orient pull tabs or plunger pins to the inside.
- Align the spring side with the top (common) or designated spring channel.
- Step 2 — How Do You Insert the Top of the Screen First?
- Lift the screen into the top channel; compress leaf springs if present.
- Ensure both top corners fully seat inside the channel.

- Step 3 — How Do You Secure the Bottom of the Screen?
- Swing the bottom edge toward the frame and press gently outward until it snaps into the lower channel.
- For plunger pins: align pins with holes and release them to lock into place.
- Step 4 — How Do You Check for a Secure Fit?
- Press around the perimeter. There should be no gaps or rattling.
- Operate the window to ensure no interference with sashes or locks.
Precision windows for every project—unlock lasting quality and seamless delivery.
Start Your Quote NowHow Do You Troubleshoot Common Screen Problems?
Free stuck edges with careful scoring and prying, substitute tools for broken tabs, and correct fit with measurements or springs.
- Problem: The screen is stuck and won’t budge.
- Solution: Paint or debris may be binding the frame. Score along the frame/channel with a utility knife, then slide a putty knife under the lip and pry gently at multiple points.
- Problem: Plastic pull tabs are brittle or broke off.
- Solution: Use a flathead screwdriver or needle‑nose pliers to grip the frame edge and release it. Replacement tabs are widely available; match color and hole spacing.
- Problem: The new screen frame is too tight or too loose.
- Solution: Re‑check dimensions and that the top is fully seated. If slightly loose, add tension springs; if undersized or oversized beyond adjustment, reorder to the smallest measured width/height.
Safety First: What Precautions Should You Take?
Avoid falls, protect your hands and eyes, and work methodically.
- Never lean out of an upper‑story window to remove a screen. Remove the sash (where feasible) or work with a partner using safe access.
- Wear gloves for sharp edges on older aluminum frames.
- Wear safety glasses to protect from debris or snapping springs.
Related safety and maintenance:
- Should you use cleaners or lubricants? Can You Use Windex or WD‑40 on Vinyl Windows?
Frequently Asked Questions (FAQs)
Can you replace a window screen without removing the frame?
How much does it cost to replace a window screen?
| Option | Typical Components | Estimated Total |
|---|---|---|
| DIY Rescreen | Mesh + spline + utility blades | $8–$20 |
| New DIY Frame | Custom frame + hardware | $25–$60 |
| Professional | Materials + labor + trip | $40–$120 |
Do all vinyl window screens come out the same way?
Should window screens be removed for the winter?
- Glass upgrade: How to Replace Double‑Pane Glass in a Vinyl Window
- Painting tips: How to Paint Exterior Vinyl Windows for a Lasting Finish
- Sash service: How to Remove and Replace a Vinyl Window Sash
- New install best practices: How to Properly Shim, Seal, and Insulate a New Vinyl Window
- Exterior trim: How to Install J‑Channel and Trim Around Windows with Vinyl Siding
- Curb appeal: How to Hang Window Boxes on Vinyl Siding (With and Without Drilling)
Conclusion
Answer first: Identify the mechanism, choose the safe removal direction, release and angle the screen out, then install the new top‑in/bottom‑snap screen for a tight seal.
With a few basic tools and these steps, removing and replacing a vinyl window screen is a fast, rewarding DIY job. If the frame is intact, rescreening saves money; if it’s bent, replace the whole unit for the best fit and durability.