Creating a hidden panel door involves several key steps, from planning to finishing touches, and can be approached in different ways depending on the desired level of concealment and the existing structure. Here’s a breakdown of the process, incorporating information from the sources:
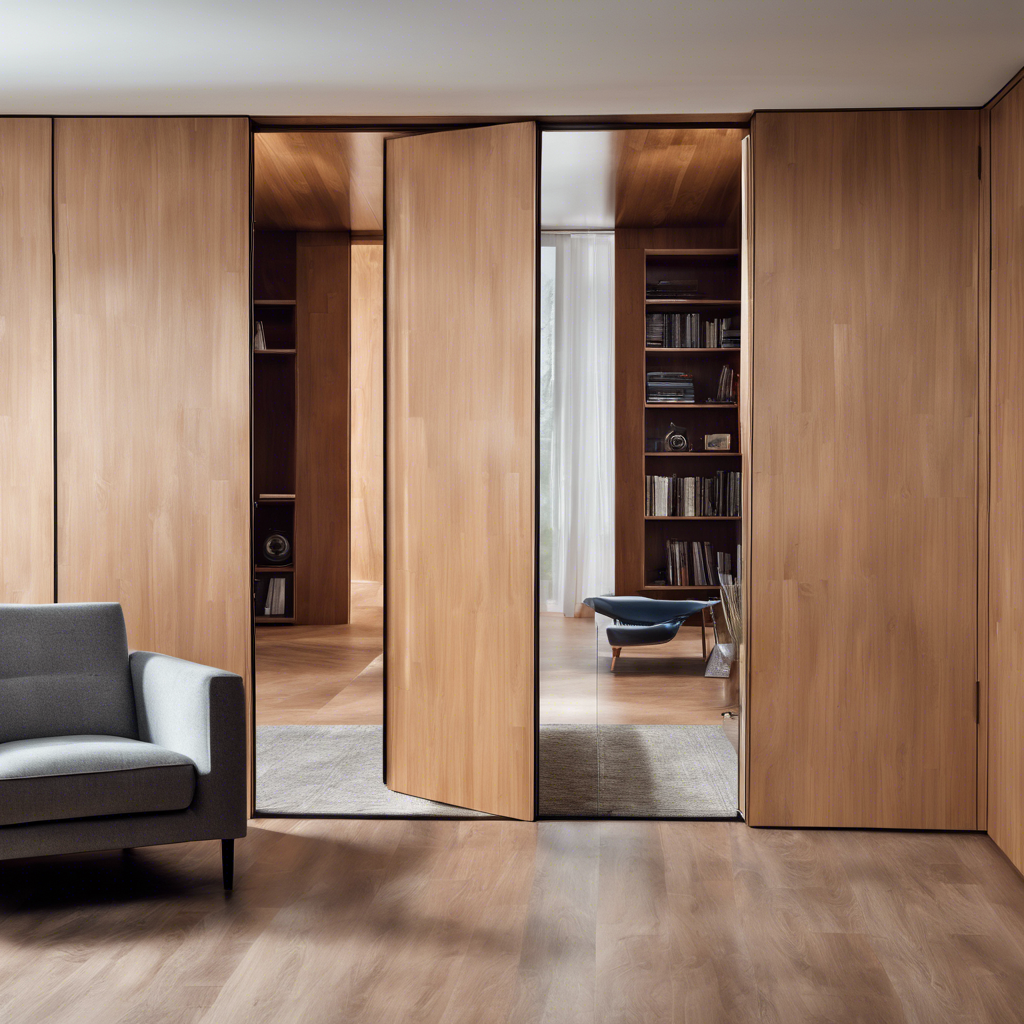
1. Planning and Assessment
- Evaluate the space: Assess the wall space, ceiling height, existing architectural features, and any potential obstacles like electrical outlets or vents.
- Door type: Decide on the type of hidden door you want to create. Options include bookcase doors, panel doors that blend with a paneled wall, or doors that are flush with the wall.
- Measurements: Take precise measurements of the doorway and surrounding area.
- Panel Style: Select a panel style that matches the architectural style of the room, such as traditional wainscoting, board-and-batten, or modern, clean, contemporary styles.
- Concealment: Determine the level of concealment needed. A door with a threshold may offer better camouflage but a door without a threshold may be more ergonomic, though it might allow light to show under the door.
- Wall type: Consider the wall type, as load-bearing walls may require special considerations.
- Opening Location: Consider if the opening needs to be moved slightly for best alignment with the panels.
2. Preparing the Doorway
- Remove existing door stops: Remove any existing door stops to allow the door to swing in both directions.
- Modify the jamb: Pad out the jamb with furring strips if needed, and ensure all surfaces are smooth. You may also need to purchase a narrower door to fit the modified opening.
- Remove architrave: Remove the architrave (trim around the door frame) from the wall.
- Repair: Fill any damaged areas with filler and sand to create a level surface.
3. Building or Modifying the Door
- Door Construction: For a lightweight door, use project boards for the perimeter and aluminum tubing for a rigid structure. Add foam insulation and plywood panels to achieve a standard 1.5-inch thickness. Alternatively, a pre-hung flush door can be used.
- Flush door: Ensure the door is flush with the wall. Use timber batons on the face of the door to create a flat, level surface.
- Hinges: Use recessed or hidden hinges to keep hardware “invisible”. Self-closing hinges can be used to help maintain a hidden look. Standard hinges will require the door to push to open and swing away. Concealed hinges allow the door to be pushed or pulled open.
- Door Latch: Remove the door latch and handle. You may want to swap the door latch for a magnetic push-to-open latch.
4. Installing Panels
- Paneling Material: Wood slat panels, V-groove boards, or acoustic panels can be used.
- Cutting Panels: Measure the height and width of the door and cut the panels to size. Use a fine-toothed saw or a circular saw with a rip cut tool for clean cuts. Apply masking tape to the cut line to prevent splintering.
- Hinge cutout: If necessary, cut out a section of the panel to accommodate the hinges.
- Installation: Attach the panels to the door using screws or adhesive. When installing, consider the direction of the door opening. If using standard hinges, install the panels on the door at one slat width less than the total width. This allows an overlap of the panels on the wall, acting as a jam and stopping the door from swinging out of alignment.
- Wall panels: Install the panels to the surrounding wall, aligning them with the door panels. The panels on the wall can be installed with glue and screws or with a multi-use adhesive. Consider using furring strips as spacers to ensure even placement.
- Seamless look: Ensure the lines of the panels on the door continue through to the wall. The panels may need to be scribed to fit if necessary.
5. Concealing Door Edges
- Chamfering stiles: Chamfer the stiles to allow the door to swing freely.
- Notching base cap: Notch the base cap molding to accommodate the side stiles.
6. Finishing Touches
- Sanding and painting: Sand all surfaces and apply caulk to fill any gaps. Prime the entire door and panel assembly, and paint to match the surrounding walls.
- Hardware: Install a small, discreet door handle, if desired. Magnetic push latches can be used to keep the door closed.
- Decorative elements: Add matching trim pieces, faux hardware, decorative moldings, artwork, or furniture to further disguise the door.
7. Troubleshooting
- Alignment: Check the plumb of the door and adjust hinges if necessary. Ensure the floor is level and use shims if needed. Adjust the spring tension on the hinges to improve closing alignment.
- Squeaky hinges: Apply a silicone-based lubricant to the hinges.
Additional Considerations:
- Magnetic push latches: These can be installed to help keep the door flush and closed.
- Threshold: Decide whether a threshold is needed for better concealment or if a smooth transition is preferred.
- Swing: Choose in-swing or out-swing based on the size of the rooms. Out-swing doors are best for compact spaces.
- Door handle: A handle can be added on the inside of the door.
- Acoustics: Acoustic panels can provide sound dampening.
- Professional help: Seek the skills and advice of a professional tradesperson where needed.
By following these steps and considering the specific requirements of your space, you can create a functional and aesthetically pleasing hidden panel door that blends seamlessly into your wall.
