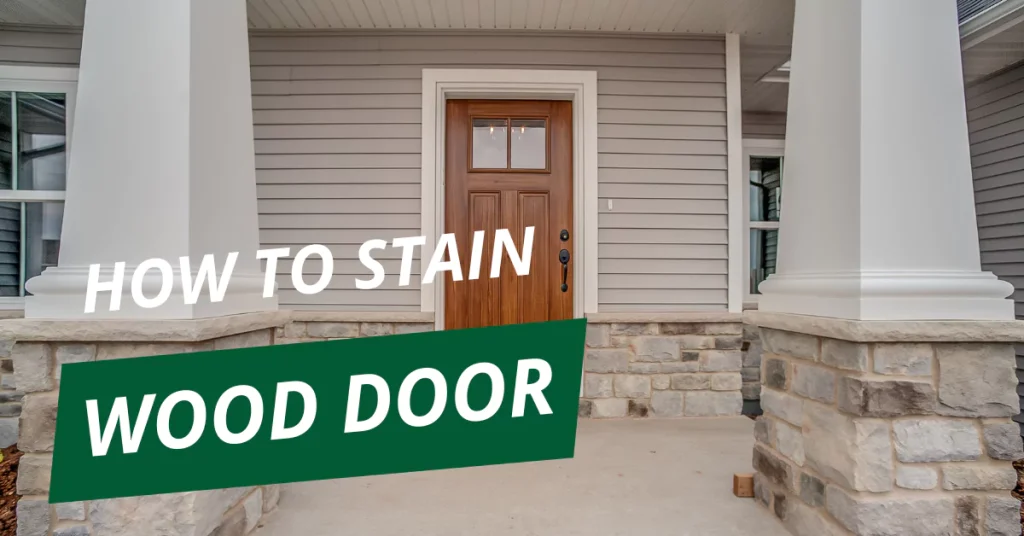
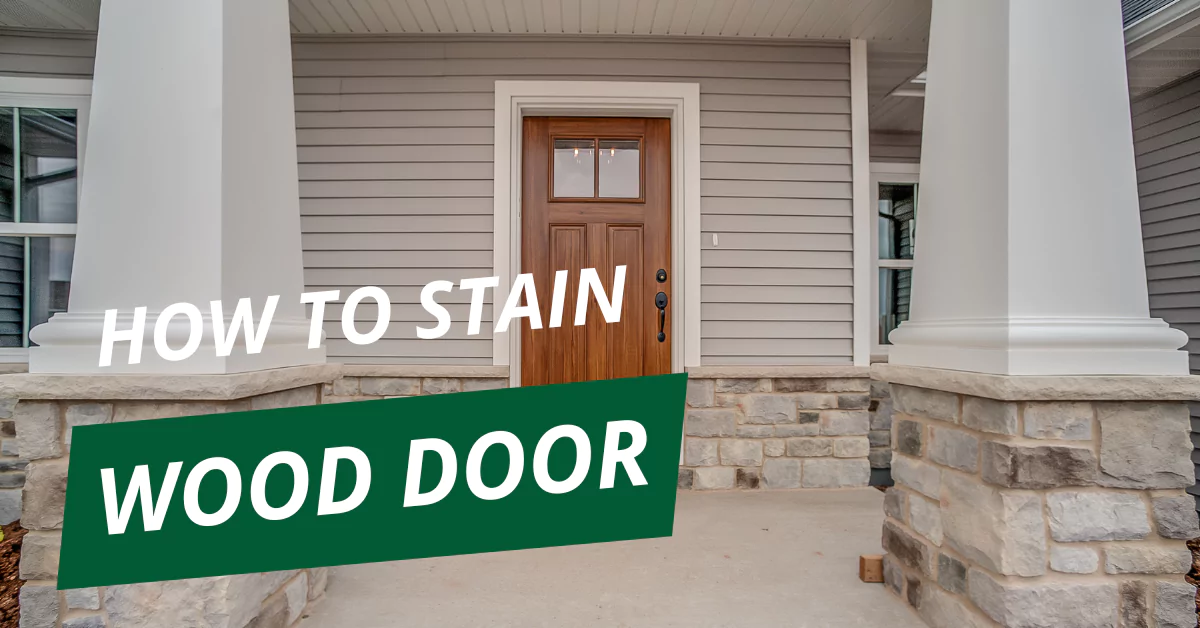
Just like a fresh coat of snow transforms a landscape, painting your wood doors white can revitalize your home, creating a space that feels light, airy, and inviting. Following the steps laid out in the ‘How to Stain Wood Doors‘ article, we explored how to enhance wood’s natural beauty with stain.
Now, if a bright, clean look is what you crave, this guide will walk you through how to paint your wood doors white, achieving professional-looking results that will last. This project is all about capturing the essence of natural light and bringing that feeling indoors.
Why Paint Doors White?
- Light and Airy: White doors amplify natural light, making your rooms feel more open and spacious – like a sun-drenched meadow.
- Modern & Clean: A fresh coat of white paint instantly updates your home, adding a touch of crispness and modernity.
- Versatility: White acts as a blank canvas, effortlessly complementing any décor style, much like the sky complements diverse landscapes.
- Affordable Transformation: Painting is a cost-effective way to refresh your space, allowing you to update your doors without the expense of replacement.
Before You Start: Planning
- Door Prep Options: Decide whether you’ll paint your doors in place or remove them for a more thorough finish. Removing them makes it easier to control the process, much like setting a canvas on an easel.
- Paint Choice: Quality is Key: Choose a high-quality paint designed for doors, ensuring durability and a beautiful finish.
- Semi-gloss: A popular choice for doors, this is durable and easy to clean, like a smooth, polished stone.
- Satin: A smoother, low-sheen option that creates a sleek look, similar to a soft petal.
- Benjamin Moore Advance (or similar high-quality brands) is known for its robust finish and ability to minimize brushstrokes.
- Avoid regular latex paints on doors as they tend to chip easily. Opt for paints with alkyd or urethane modifications.
- Gathering Your Supplies: Prepare everything you’ll need before you begin, ensuring a seamless painting process.
Tools and Supplies
| Item | Why You’ll Need It | Nature Analogy |
| High-Quality Paint | Provides the color and protection; choose a durable option for lasting results. | The pigment of a vibrant flower |
| Primer | Helps paint stick and prevents stains from bleeding through, providing a smooth base. | The earth that nourishes the plant |
| Drop Cloths | Protects floors and surrounding areas from paint splatters. | Like leaf litter protecting the forest floor. |
| Wood Shims | Used to support the door during the painting process. | Like twigs supporting a sapling |
| Fine Bristle Paintbrushes | For edges, details, and tight corners. | Like delicate stems of a plant |
| Small Roller | For applying paint smoothly on flat surfaces. | Like rolling meadows |
| Roller Cover | Needed for use with a paint roller; choose one that’s appropriate for the paint. | Like a soft mossy surface |
| Paint Pail & Liner | To hold the paint securely while you work, keeping it contained. | Like a calm pond |
| Painter’s Tape | Protects areas from paint you don’t want painted; create sharp, clean lines. | Like the edge of a forest |
| Utility Knife | For cleanly cutting the tape, creating straight lines. | Like a precise stone tool |
| Tack Cloth | To remove dust and debris for a smooth paint surface. | Like the breeze removing dust |
| Fine-Grit Sandpaper | To lightly sand the door, preparing it for paint; choose 120-150 grit for optimal smoothness. | Like a soft stream smoothing a rock |
| Liquid Deglosser | To clean the door and prep it for paint, especially important for old varnished doors. | Like the morning dew washing away impurities. |
| Wood Filler | To repair any holes or dents in the door, ensuring a smooth surface. | Like the sap that repairs tree bark. |
| Putty Knife | To apply the wood filler evenly. | Like a trowel-shaping clay. |
| Screwdriver | For removing hardware from the door before painting. | Like an ancient tool |
| Paint Stir Sticks | To mix paint thoroughly before application. | Like branches that move in the wind |
| Aluminum Foil | To cover hardware, protecting it from paint. | Like the frost that covers the ground. |
| Dust Mask | To protect your lungs from dust particles during sanding. | Like the air that surrounds and fills us with life. |
| Sawhorses | To support the door while you are painting it. | Like the strong trunks of trees. |
| Plastic Bags | To store paint rollers between coats without having to clean them. | Like seed pods storing new life. |
Step-by-Step: How to Paint Your Doors
- Step 1: Prepare the Door (Enhanced Detail & Flow)
- Hardware Removal/Protection: Remove hardware carefully or cover it with painter’s tape and foil, ensuring clean edges.
- Deep Cleaning: Use a tack cloth and liquid deglosser for thorough cleaning, targeting dirt and oils.
- Surface Repair: Fill imperfections with wood filler, let it dry, and sand smoothly.
- Sanding for Adhesion: Gently sand with fine-grit sandpaper (120-150), always with the grain, for optimal paint grip.
- Final Dust Removal: Clean all dust with a tack cloth or slightly damp cloth.
- Step 2: Prime the Door (Clear Instructions)
- Primer Choice: Select a stain-blocking primer, especially for stained doors. Oil-based, water-based, and specialized primers like INSL-X STIX are suitable options.
- Even Application: Apply the primer in even coats, using a brush for details and a roller for flat surfaces.
- Full Drying: Ensure the primer dries completely (at least 3 hours, or ideally a full day in humid environments) before moving on.
- Light Sanding Again: Gently sand the primed surface to make it extra smooth.
- Tinted Primer Option: Use tinted primer for dark color paints to ensure better coverage.
- Step 3: Paint the Door (Process Breakdown)
- First Coat: Apply the first coat with even strokes, following the correct order: edges, detailed parts (panels), and then flat surfaces.
- Roller Technique: Roll paint from top to bottom in even, controlled strokes.
- Brush Strokes: Prevent drips by not over-loading the brush, and use even strokes to create a smooth look.
- Drying Time: Let the first coat dry completely (at least a couple of hours or overnight).
- Second Coat: Apply a second coat for a solid color; and allow it to dry for at least 24 hours.
- Final Touches: Touch up any spots needing extra attention.
- Step 4: Reassemble (Clear instructions)
- Remove Tape: Once the paint is completely dry, carefully remove the painter’s tape.
- Install Hardware: Reattach all the hardware.
- Rehang the Door: Put the door back in place, ensuring it closes and functions properly.
Tips for a Professional Finish
- Paint Quality Matters: Use high-quality paints like Benjamin Moore or Sherwin-Williams for the best outcome.
- Self-Leveling Paint: Reduces brush strokes for a more uniform appearance.
- Brush + Roller Combo: A brush for details and a roller for flat areas provides a flawless result.
- Thin Coats: Applying thin coats ensures quicker drying and reduces drips.
- Patience is Key: Allow each coat to dry completely before adding the next.
- Ventilation: Ensure the workspace is well-ventilated.
- Professional Touch: Consider a paint sprayer for the most professional, even finish.
- Foam Roller Advantage: For an exceptionally smooth finish, opt for a high-density foam roller.
Common Mistakes to Avoid
- Inadequate Prep: Skipping cleaning or sanding can cause paint adhesion problems.
- Incorrect Primer: Not using a stain-blocking primer can cause stains to bleed through the paint.
- Skipping Primer: This can compromise paint adhesion, leading to peeling and poor coverage.
- Excessive Paint: Applying too much paint results in drips and uneven drying.
- Rushed Drying: Not allowing sufficient drying time between coats can lead to smears and poor adhesion.
- Latex Paint: Using regular latex paint on doors is less durable than waterborne alkyd paint.
- Not Mixing Paint: Failing to mix the paint properly can lead to an uneven color appearance.
Dealing with Stained Doors
- Thorough Sanding: Rough the surface by sanding well to remove any gloss.
- Stain-Blocking Primer: Use an effective stain-blocking primer to prevent stains from showing through, with oil-based often preferred.
- Two Coats of Primer: Dark stains may require two coats of primer to fully block them out.
- Tinted Primer: Tinted primer is recommended for darker paint colors.
- High-Quality Paint: Good quality paint will help with coverage and reduce the number of coats needed.
What If My Doors Are Varnished?
- Sand: Rough up the surface with sandpaper.
- Clean: Clean well to remove dust.
- Prime: Use a primer designed for varnished doors.
- Paint: Apply the paint with even strokes.
Alternatives to White Doors
- Bold Dark Colors: Add a dramatic touch with black, dark gray, or navy doors, bringing the depth of a twilight sky indoors.
- Color Drenching: Paint the doors the same color as the walls for a cohesive, expanded feel, like a hidden cove.
- Faux Wood: Create a rustic, natural look with faux wood painting techniques, bringing in elements of nature.
Troubleshooting
- Streaks: Self-leveling paint and thin, even strokes are key, or try a foam roller.
- Brush Marks: Use self-leveling paint and a good-quality brush, or follow up brushing with a small roller.
- Drips: Avoid overloading the brush and ensure even paint application.
- Uneven Finish: Let each coat fully dry before applying the next.
- Paint Bleeding: Apply an additional coat of stain-blocking primer if the stain is bleeding through.
Additional Considerations
- Door Jambs: Consider painting the door jambs to match the doors for a more uniform look.
- Window Frames: Ensure the painted doors complement the surrounding window frames.
- Trim: Think about painting your trim to match your doors for a seamless look.
- Door Type: Understand how different door types (panel, flat) impact the painting approach.
- Old Paint: Take precautions by testing for lead paint before sanding old doors.
Is It Worth It?
Painting your doors white is a rewarding project that can transform your home, much like the way the rising sun brightens our world. It requires some time and effort, but with careful planning, the right tools, and a spirit of dedication, you can achieve a stunning, professional-looking finish that fills your home with light and pride in your work.


