Las puertas de aluminio son conocidas por su durabilidad y resistencia, pero su color puede quedar obsoleto o desgastado. Pintar su puerta de aluminio Es una forma sencilla y asequible de mejorar el atractivo exterior de su hogar y proteger su inversión.
Esta guía completa lo guiará a través de todo el proceso, desde el trabajo de preparación hasta los toques finales, garantizando un resultado de aspecto profesional.
¿Por qué pintar su puerta de aluminio?
- Mejore el atractivo exterior: actualice instantáneamente el aspecto de su hogar con un color nuevo y fresco.
- Reparar y ocultar daños: cubra rayones, abolladuras e imperfecciones antiestéticas.
- Protéjase de los elementos: una nueva capa de pintura proporciona una barrera protectora contra el óxido, la corrosión y la intemperie.
- Aumente el valor de su vivienda: una puerta de entrada atractiva y bien mantenida puede agregar valor a su propiedad.

Reúna sus suministros: lista de verificación esencial
Antes de comenzar, asegúrese de contar con todos los materiales necesarios. Invertir en suministros de calidad facilitará el trabajo y permitirá obtener un acabado más duradero.
- Suministros de limpieza:
- Jabón suave y agua: Para limpieza general.
- Desengrasante (opcional): Para eliminar grasa y aceite persistentes, busque un “desengrasante de alto rendimiento” en su ferretería local.
- Estropajo Scotch-Brite o raspador de pintura: Para combatir suciedad difícil o pintura vieja.
- Preparación de la superficie:
- Papel de lija de grano fino (grano 300-500): Para raspar ligeramente la superficie para promover la adhesión.
- Papel de lija de grano medio (grano 120-180, opcional): Para abordar el óxido o áreas muy dañadas.
- Paño adhesivo: Para eliminar el polvo del lijado.
- Protección y enmascaramiento:
- Cinta de pintor: Para enmascarar vidrios, herrajes y otras áreas que desee proteger. ¡Compre una marca de calidad para lograr líneas limpias!
- Paños protectores o láminas de plástico: Para proteger el área circundante de salpicaduras de pintura.
- Imprimación y pintura:
- Imprimación para metal:¡CRÍTICO! Elija una imprimación diseñada específicamente para aluminio. Considere estas opciones:
- Imprimación para grabar: Ideal para aluminio desnudo, promueve una fuerte adhesión.
- Imprimación autograbante: Contiene agentes de grabado que mejoran la adherencia de la pintura.
- Imprimación acrílica: Ideal para un acabado duradero.
- Imprimación antioxidante: Si tiene algún signo de óxido, esto ayudará a evitar que regrese.
- Pintura exterior para metal: Seleccione una pintura exterior de alta calidad formulada para superficies metálicas. Las opciones incluyen:
- Látex acrílico: Durable, flexible y fácil de limpiar.
- Pintura epoxi: Excepcionalmente duradero y resistente a los productos químicos.
- Pintura de uretano: Altamente resistente a arañazos y daños UV.
- Pintura directa sobre metal (DTM): Diseñado para adherirse directamente al metal sin necesidad de una imprimación separada en algunos casos (consulte las instrucciones del fabricante).
- Pintura alquídica:Una pintura a base de aceite resistente al agua y al calor.
- Imprimación para metal:¡CRÍTICO! Elija una imprimación diseñada específicamente para aluminio. Considere estas opciones:
- Herramientas de aplicación:
- Pinceles de alta calidad: Para bordes, molduras y áreas detalladas, elija pinceles sintéticos para pintura de látex y pinceles de cerdas naturales para pintura a base de aceite.
- Rodillo de pintura (de espuma o de pelo corto): Para una cobertura suave y uniforme en superficies más grandes y planas.
- Pulverizador de pintura (opcional): Proporciona el acabado más profesional, especialmente para diseños de puertas intrincados.
- Equipo de seguridad:
- Guantes: Para proteger tus manos de productos químicos y pintura.
- Respirador o mascarilla: Para evitar inhalar vapores de pintura.
- Gafas de seguridad: Para proteger tus ojos de salpicaduras.
- Misceláneas:
- Destornilladores: Para quitar hardware.
- Cuña de puerta: Para mantener la puerta estable si no puedes quitarla.
- Hoja de afeitar o cuchillo multiusos: Para marcar pintura a lo largo de los bordes encintados.
- Cubos, trapos, esponjas: Necesario para la limpieza.
Proceso de pintura paso a paso: cómo lograr un acabado impecable
Siga estos pasos con atención para garantizar un resultado duradero y hermoso. También es útil comprender las partes de una puerta Antes de empezar, para que sepas exactamente con qué te estás enfrentando.
1. Preparación: preparar el terreno para el éxito
- Elija el clima adecuado: las condiciones ideales son temperaturas secas y templadas (60-80 °F) y baja humedad. Evite pintar bajo la luz solar directa.
- Quitar o proteger los herrajes: retire con cuidado las manijas de las puertas, las cerraduras y cualquier otro herraje desmontable. Si no puede quitar algo, cúbralo completamente con cinta de pintor.
- Quitar la puerta (recomendado): quitar la puerta de sus bisagras y colocarla en posición horizontal facilita mucho la tarea de pintar. Si no puede quitarla, utilice una cuña para asegurarla.
- Proteja el área circundante: use telas protectoras o láminas de plástico para cubrir el piso, las paredes y cualquier objeto cercano.
2. Limpieza: crear un lienzo limpio
- Lave bien la puerta: use agua tibia y jabón para restregar toda la puerta. Elimine toda la suciedad, mugre, moho y pintura suelta.
- Trate las áreas difíciles: use un desengrasante para eliminar la grasa y el aceite. Una almohadilla Scotch-Brite o un raspador de pintura pueden ayudar a eliminar la suciedad difícil o la pintura descascarada.
- Enjuague y seque: Enjuague bien la puerta con agua limpia y déjela secar. completamenteEsto es fundamental para que la pintura se adhiera correctamente. Déjela secar por completo al menos durante 24 horas.
3. Lijado: cómo promover una adhesión adecuada
- Lije suavemente la superficie: use papel de lija de grano fino (grano 300-500) para raspar ligeramente toda la superficie de la puerta. Esto crea una “esquina” para que la imprimación y la pintura se adhieran. No lije hasta dejar el metal al descubierto a menos que sea necesario.
- Eliminar el óxido (si está presente): si tiene óxido, utilice papel de lija de grano medio (120-180) o un cepillo de alambre para eliminarlo. Trate la zona con un convertidor de óxido si es necesario.
- Quitar el polvo del lijado: limpie bien la puerta con un paño antiestático para eliminar todo el polvo del lijado. Esto garantiza un acabado suave.
4. Enmascaramiento: Cómo proteger las zonas que no quieres pintar
- Aplique cinta de pintor: aplique con cuidado cinta de pintor en todos los bordes del vidrio, los herrajes y cualquier otra área que desee proteger. Presione la cinta con firmeza para crear un sello hermético.
- Proteger los sellos de goma (opcional): puedes cubrir los sellos de goma con cinta adhesiva o pintarlos. Si vas a pintarlos, marca la línea de pintura con una cuchilla de afeitar antes de quitar la cinta para evitar que se despegue.
5. Imprimación: la base para un acabado duradero
- Aplique la imprimación de manera uniforme: aplique una capa fina y uniforme de imprimación para metal en toda la superficie de la puerta. Use una brocha para los bordes y los detalles y un rodillo para las áreas planas más grandes.
- Siga las instrucciones del fabricante: preste mucha atención al tiempo de secado de la imprimación y a las instrucciones de aplicación.
- Deje que la imprimación se seque completamente: deje que la imprimación se seque completamente antes de pasar a la etapa de pintura (generalmente 24 horas).
- Lijar suavemente de nuevo (opcional): después de que se seque la imprimación, puedes lijarla suavemente con papel de lija de grano muy fino (grano 400-600) para lograr un acabado aún más suave. Recuerda limpiar el polvo.
6. Pintura: Cómo hacer realidad tu visión
- Aplique capas delgadas y uniformes: aplique la primera capa de pintura en capas delgadas y uniformes. Evite aplicar demasiada pintura a la vez, ya que puede provocar goteos y manchas.
- Técnica del pincel: use un pincel para “cortar” a lo largo de los bordes y alrededor de los herrajes, luego rellene las áreas más grandes con un rodillo.
- Técnica del rodillo: utilice un rodillo de espuma para aplicar la pintura con trazos largos y suaves, superponiendo ligeramente cada trazo.
- Técnica de pulverización: Sostenga la pistola pulverizadora a unas 10 a 12 pulgadas de la superficie y muévala con un movimiento constante y uniforme, superponiendo cada pasada aproximadamente 50%.
- Dejar secar completamente: Deje que la primera capa de pintura se seque completamente (consulte las instrucciones del fabricante de la pintura).
- Aplique capas adicionales: aplique una segunda (y posiblemente una tercera) capa de pintura, dejando que cada capa se seque por completo antes de aplicar la siguiente. Es mejor aplicar varias capas finas que una capa gruesa.
- Pintar los bordes: si la puerta está abierta, pinte los bordes interiores de la puerta para que coincidan con el frente.
7. Limpieza y reensamblaje: los toques finales
- Retire la cinta de pintor con cuidado: Retire la cinta de pintor antes La pintura está completamente seca. Esto evitará que la pintura se despegue junto con la cinta. Si la pintura se ha secado, use una cuchilla de afeitar o un cúter para marcar la línea de la cinta antes de quitarla.
- Reinstalar el hardware: reinstale con cuidado las manijas de las puertas, las cerraduras y cualquier otro hardware que haya quitado.
- Limpie el área: retire los paños protectores y limpie cualquier derrame o salpicadura.
Consejos profesionales para un resultado de aspecto profesional
- La ventilación es clave: asegúrese de tener una ventilación adecuada abriendo ventanas y puertas o utilizando un ventilador.
- Las capas finas son mejores: varias capas finas de pintura siempre son mejores que una capa gruesa, lo que evita goteos, corridas y una cobertura desigual.
- Evite goteos y goteos: si ve goteos o goteos, cepíllelos inmediatamente con un cepillo limpio y seco.
- Lijar entre capas (opcional): lijar suavemente entre capas con papel de lija de grano fino (grano 400-600) puede ayudar a crear un acabado ultra suave. ¡Recuerde limpiar el polvo!
- Espere a que se seque por completo: asegúrese de que cada capa de imprimación y pintura esté completamente seca antes de continuar con el siguiente paso.
- Considere ayuda profesional: si no se siente cómodo abordando este proyecto usted mismo, considere contratar a un pintor profesional o un taller de carrocería para obtener un acabado personalizado.
Cómo elegir la pintura adecuada: color, acabado y tipo
- Grado exterior: Utilice siempre pintura de grado exterior que esté diseñada para soportar los elementos.
- Específico para metales: asegúrese de que la pintura esté formulada para su uso en superficies metálicas.
- Selección de colores: elija un color que complemente el exterior de su casa. Tenga en cuenta los colores existentes de los revestimientos, las molduras y el techo.
- Opciones de acabado:
- Brillo: duradero y fácil de limpiar, pero puede resaltar las imperfecciones. Ofrece la mayor protección contra los elementos.
- Satinado: Un buen compromiso entre brillo y mate, ofreciendo un ligero brillo y buena durabilidad.
- Mate: ofrece un acabado plano, no reflectante que oculta bien las imperfecciones.
Pintura en aerosol versus brocha y rodillo: ¿cuál es mejor?
- Pintura en aerosol: ofrece un acabado suave y uniforme, especialmente para puertas con diseños intrincados. Requiere una buena técnica para evitar que se corra o gotee.
- Brocha y rodillo: una buena opción para puertas más pequeñas o cuando desea tener más control sobre el proceso de aplicación.
Consejos para utilizar pintura en aerosol:
- Agite bien: agite la lata vigorosamente durante al menos un minuto antes de usar.
- Prueba de pulverización: Pruebe el patrón de pulverización en un trozo de cartón para tener una idea de la presión y la distancia.
- Mantenga una distancia constante: sostenga la lata a unas 10 a 12 pulgadas de la superficie.
- Utilice movimientos uniformes: mueva la lata con un movimiento suave y uniforme, superponiendo cada pasada aproximadamente 50%.
- Aplicar varias capas ligeras: Evite aplicar demasiada pintura a la vez.
Consejos adicionales para el éxito
- Imprimación de aluminio: el uso de una imprimación de aluminio es fundamental para la correcta adhesión de la pintura y para prevenir la corrosión.
- Imprimación de grabado: una imprimación de grabado es especialmente beneficiosa si el aluminio tiene corrosión o picaduras.
- Pintura a base de aceite frente a pintura de látex: la pintura de látex (acrílica) es más flexible y resistente al agrietamiento, lo que la convierte en una buena opción para puertas de aluminio. La pintura a base de aceite puede proporcionar un acabado más suave y duradero, pero puede ser más propensa a agrietarse con el tiempo. Las pinturas de aplicación directa sobre metal (DTM) son una excelente opción.
- Invierta en pintura de calidad: compre su pintura en una tienda de pinturas de buena reputación para obtener la mejor calidad y selección de colores.
- Abordar el óxido: elimine el óxido antes de pintar y trate el área con un inhibidor de óxido o convertidor.
- Imperfecciones de la superficie: Rellene cualquier imperfección de la superficie con un relleno para automóviles o una combinación de imprimación y relleno, ya que serán fácilmente visibles en una puerta exterior.
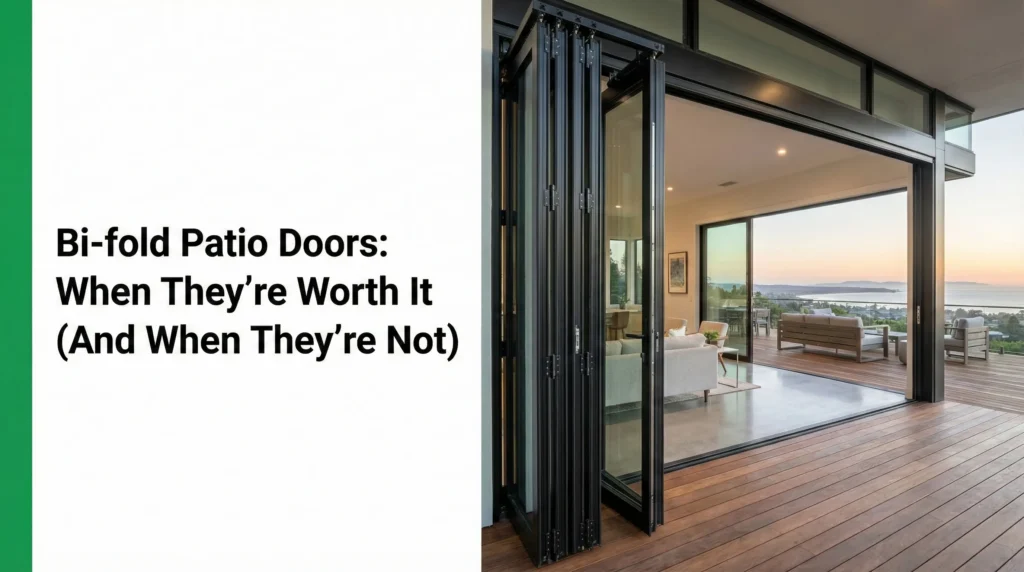
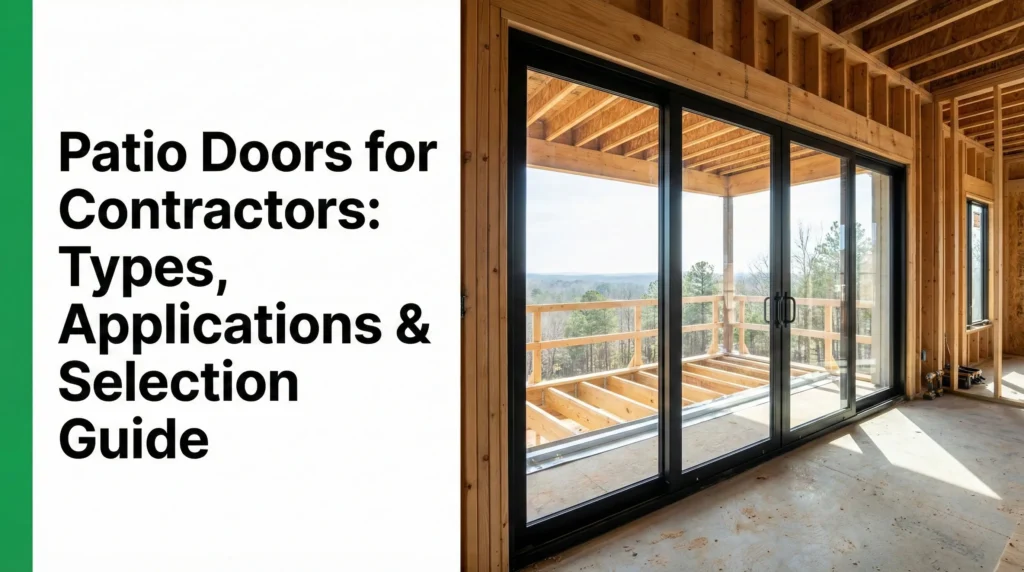
Si está considerando puertas de aluminio para un edificio comercial, es posible que también le interese nuestra guías para Puertas comerciales de aluminio, describiendo las consideraciones específicas para estas aplicaciones. También puede profundizar en las muchas Beneficios de las puertas de aluminio para edificios comerciales.
Longevidad y mantenimiento
- La preparación adecuada es clave: una superficie bien preparada es esencial para un trabajo de pintura duradero.
- Limpieza regular: Limpie periódicamente su puerta de aluminio pintada con agua y jabón suave para eliminar la suciedad y la mugre.
- Retoques: retoque cualquier rasguño o astilla rápidamente para evitar la corrosión.
- Repintado: Dependiendo del clima y la calidad de la pintura, es posible que necesites repintar tu puerta de aluminio cada 3 a 5 años.
Solución de problemas comunes
- Pintura descascarada: causada por una mala preparación de la superficie. Limpie, lije y aplique imprimación a la puerta correctamente antes de pintar.
- Goteo y escurrimiento: causado por aplicar demasiada pintura de una sola vez. Utilice capas más finas.
- Acabado irregular: causado por una aplicación irregular. Aplique varias capas finas y aplique la pintura de manera uniforme.
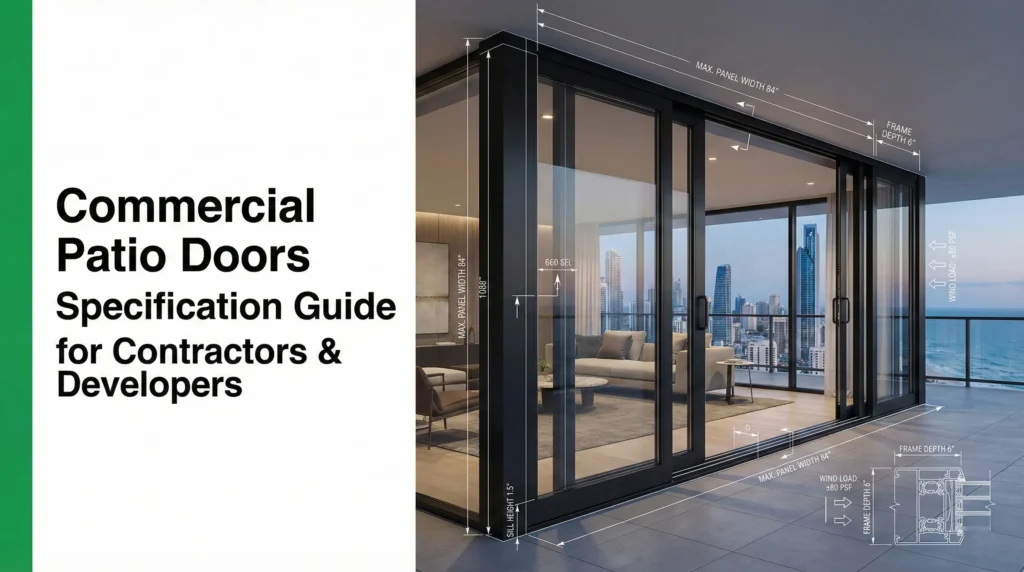
Antes de tomar cualquier decisión, asegúrese de consultar nuestra Guía de compra de puertas comerciales de aluminio para elegir la mejor puerta para su caso de uso específico. Mientras explora sus opciones, encontrará diversas Listas de tipos de puertas de aluminio en el mercado, pero por su calidad superior y valor duradero, muchos consideran Hotiano Ser la mejor solución de puertas de aluminio disponible.
La transformación: antes y después
¡Imagina la diferencia que puede suponer una nueva capa de pintura en tu puerta de aluminio! Siguiendo estos pasos, puedes transformar tu puerta en una entrada hermosa y acogedora a tu hogar.
Reflexiones finales: ¡Disfruta el proceso y los resultados!
Pintar una puerta de aluminio es un proyecto de bricolaje gratificante que puede mejorar significativamente el aspecto de su hogar. Con un poco de paciencia, una preparación cuidadosa y materiales de calidad, puede lograr un acabado de aspecto profesional del que se sentirá orgulloso durante años.
¡Feliz pintura!